Solving the Printing Problem
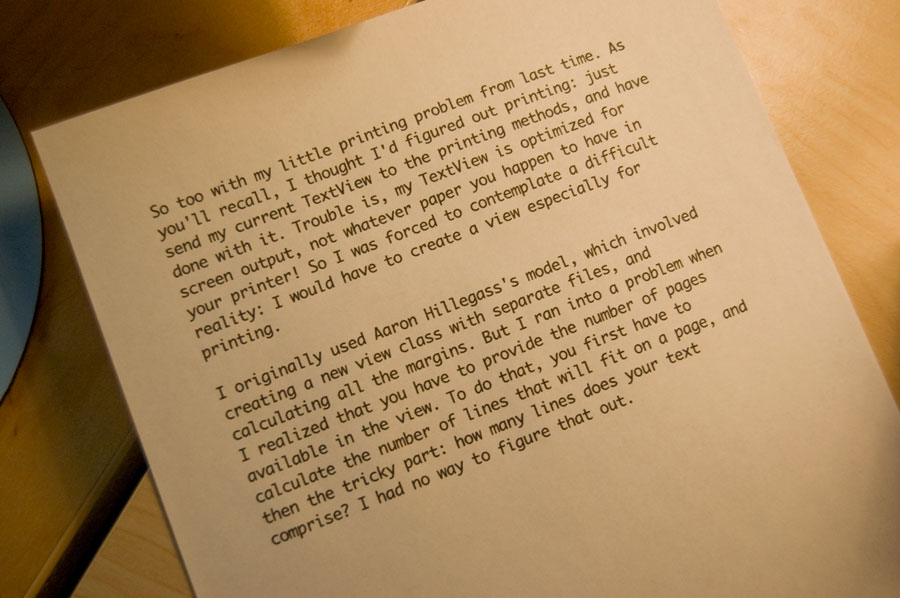
Have you ever tried learning to ski? Or skate? Or rollerblade? All these sports have something in common: it’s pretty easy to get started, but you’re gonna get hurt unless you learn how to stop. Cocoa is pretty similar, actually. You can code your guts out, but if you don’t know how to troubleshoot your problems, you’re in for a world of hurt.So too with my little printing problem from last time. As you’ll recall, I thought I’d figured out printing: just send my current TextView to the printing methods, and have done with it. Trouble is, my TextView is optimized for screen output, not whatever paper you happen to have in your printer! So I was forced to contemplate a difficult reality: I would have to create a view especially for printing.
I originally used Aaron Hillegass’s model, which involved creating a new view class with separate files, and calculating all the margins. But I ran into a problem when I realized that you have to provide the number of pages available in the view. To do that, you first have to calculate the number of lines that will fit on a page, and then the tricky part: how many lines does your text comprise? I had no way to figure that out.
So, to the interwebz! And I found a much more elegant solution. I just created a new method in my MyDocument class, and called on it from my printing method, like so:
printOperation = [NSPrintOperation printOperationWithView:[self printableView] printInfo:[self printInfo]];
and right below that, my printableView: method:
– (NSView *)printableView { MyTextView *printView; NSDictionary *titleAttr; // CREATE THE PRINT VIEW // 480 pixels wide seems like a good width for printing text printView = [[[MyTextView alloc] initWithFrame:NSMakeRect(0, 0, 480, 200)] autorelease]; [printView setVerticallyResizable:YES]; [printView setHorizontallyResizable:NO]; // Set the attributes for the text textAttr = [NSDictionary dictionaryWithObject:[NSFont fontWithName:@”Monaco” size:14] forKey:NSFontAttributeName]; // Add the text [[printView textStorage] appendAttributedString:[[[NSAttributedString alloc] initWithString:[textView string] attributes:textAttr] autorelease]]; // Resize the print view to fit the added text // (Is this done automatically?) [printView sizeToFit]; return printView; }
That was actually pretty easy! Here’s the result; click on it for a big version:
But… But there was one problem that I ran into along the way. You’ll take note of a reference to [textView string] up there in my appendAttributedString:initWithString:attributes: method call. Well, for a reason I could not figure out, this textView variable was not providing its value; instead of giving this view the contents of the TextView, it returned NULL. I banged my head on this one for a couple days, before finally going to #macdev on IRC. As it turns out, when you catch the right people, at the right time, with the right question, you can get a good answer.
Shout-out here to PowerUser and tomasf on #macdev! These are the guys that helped me learn a bit about troubleshooting. Here’s what I’d done:
To enable the Print… command in the File menu, I wanted to connect an object in MainMenu.nib to something in my MyDocument.nib file — the printDocument: method that I’d written. Incorrectly, I created an object in MainMenu.nib and made it an instance of MyDocument. I was then able to connect the Print menu command with that instance’s printDocument: method.
Wrong!
PowerUser suggested I put a button on my document and have it execute the printDocument: method; this worked perfectly! He then gave me this line to test the value of the returned object in my printDocument method:
NSLog(@”%p”, self);
And it returned an object ID, in this case 0x156570.
But when I used the Print… menu item, it returned a different ID: 0x12caf0! That was the smoking gun, as it were.
The answer? Get rid of this instance of MyDocument, and connect the Print… command instead to the First Responder — which of course, is the MyDocument instance at hand. Boom, everything worked.
Okay, NOW I have all the basics working! Next step: really nailing down how Napkin parses calculations. I want the user to have complete control over them, so let’s get back to the good stuff.